

If you are using our Dedicated Mailer you may have noticed the setup steps vary slightly from those on your Pipe Ten hosting control panel.
The following guide will walk you through adding your domain, setting up your mailbox, and enabling DKIM for your domain.
- Adding a Domain to your Dedicated Mailer
- Adding a Mailbox to your Domain
- Setting up DomainKeys Identified Mail
- Adding a Domain Administrator
- Adding Additional Mailcow Admins
- Setting up Domain Aliasing
- Setting up Mailbox Aliasing
- Changing the Message size limits
Adding a Domain to your Dedicated Mailer
Please Note: In order for the mailboxes to function correctly you will need to update your MX records to use the Purelymx mail servers. You will also have need to set your domain for use with a remote email server.
-
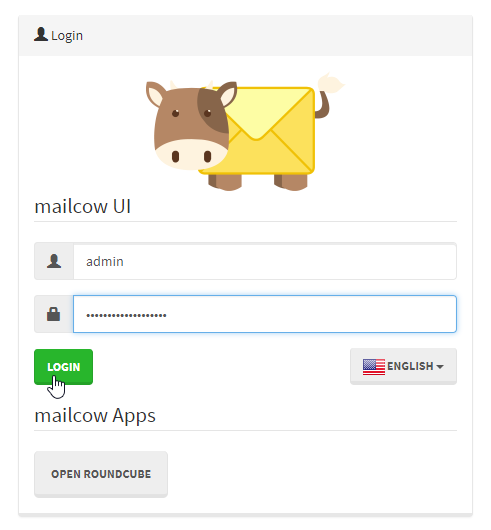
- Enter your Username & Password to the Mailcow admin section and click the green Login button.
-
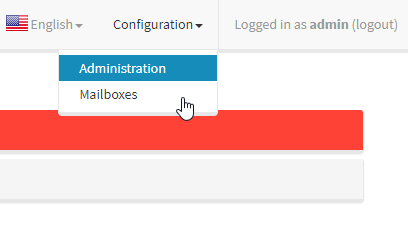
- From the top right dropdown menu select Configuration > Mailboxes.
-
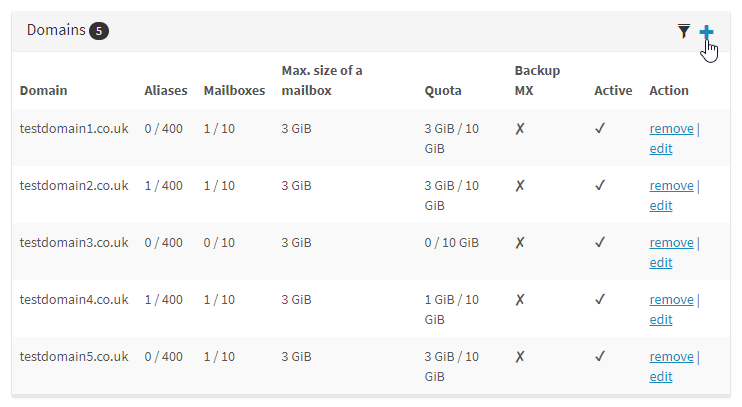
- In the Domains section click the + icon.
-
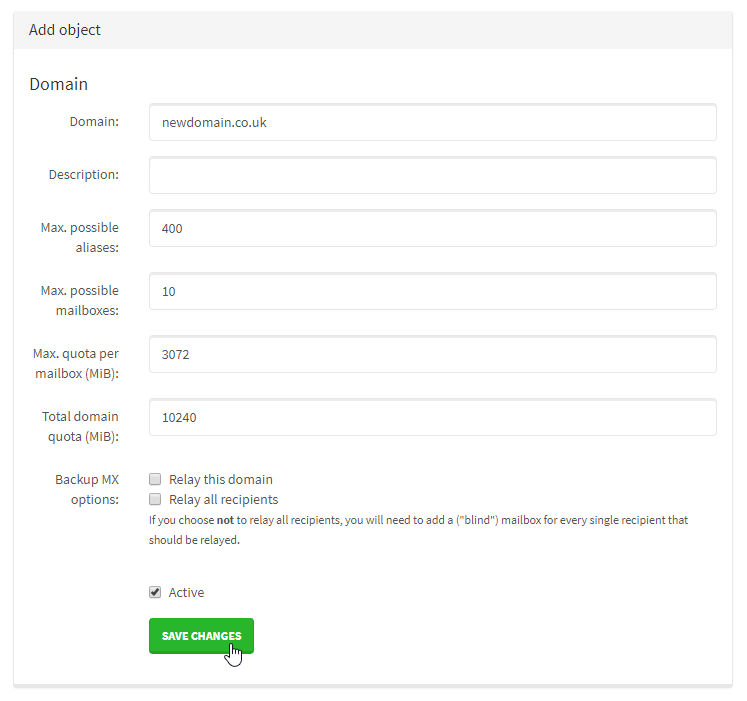
- Insert the Domain name and set any quotas you wish to apply.
Click Save Changes.
- Insert the Domain name and set any quotas you wish to apply.
Adding a Mailbox to your Domain
-
- Enter your Username & Password to the Mailcow admin section and click the green Login button.
-
- From the top right dropdown menu select Configuration > Mailboxes.
-
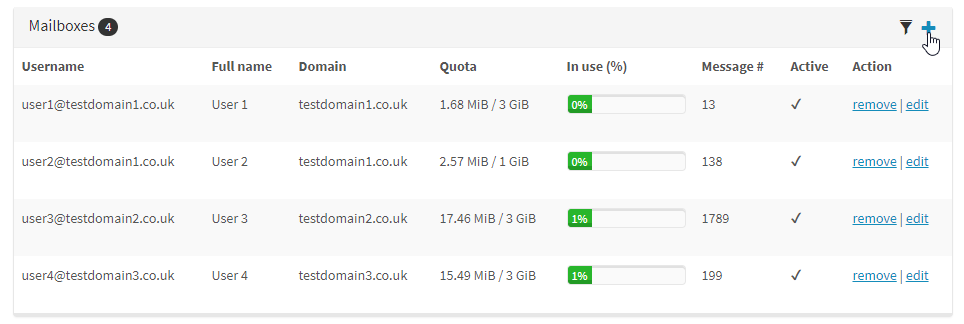
- Within the Mailboxes section click the + icon.
-
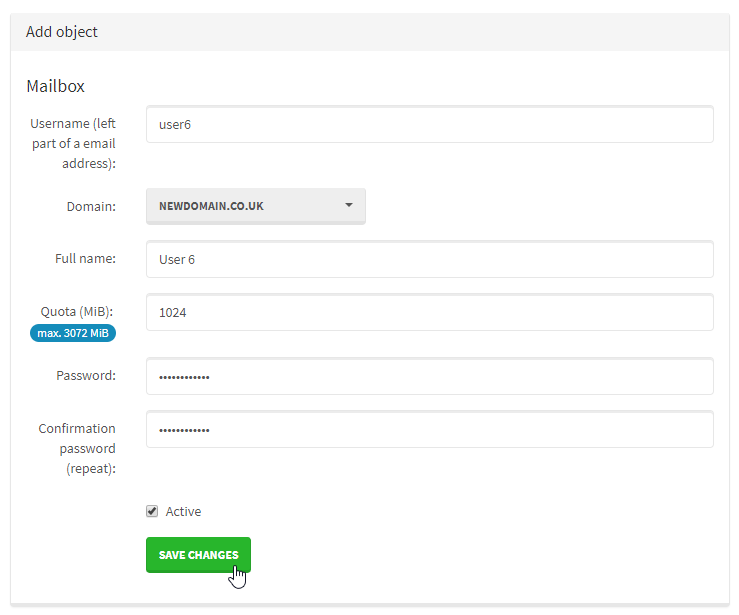
- Select the domain in question from the Domain Dropdown, set an appropriate Username, Quota, and password.
Select Save Changes.
- Select the domain in question from the Domain Dropdown, set an appropriate Username, Quota, and password.
Setting up DomainKeys Identified Mail
-
- Enter your Username & Password to the Mailcow admin section and click the green Login button.
-
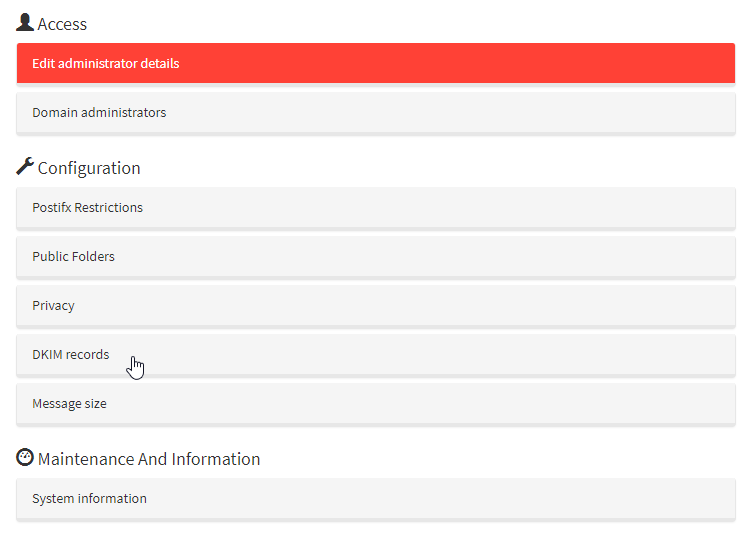
- Within the configuration section select DKIM records.
-
- From within the Add DKIM record section add your domain and se DKIM KEY LENGTH (BITS) to 2048.
Click +ADD</strong/>.
- From within the Add DKIM record section add your domain and se DKIM KEY LENGTH (BITS) to 2048.

That’s it. Now that the DKIM has been generated you will need to add it as a TXT Record to your DNS settings.
Adding a Domain Administrator
-
- Enter your Username & Password to the Mailcow admin section and click the green Login button.
-
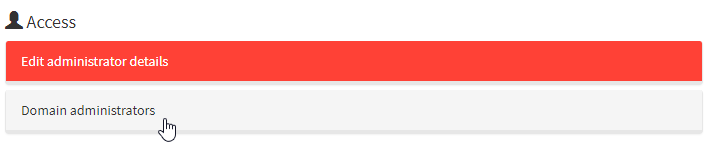
- Select the Domain Administrators tab.
-
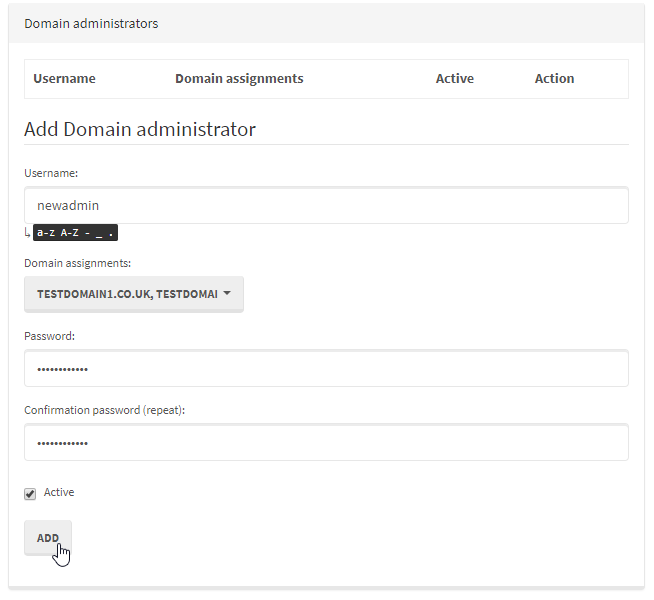
- Input a Username, assign any particular domains, and input and confirm a password.
Press the ADD button.
- Input a Username, assign any particular domains, and input and confirm a password.
Setting up Domain Aliasing
-
- Enter your Username & Password to the Mailcow admin section and click the green Login button.
-
- From the top right dropdown menu select Configuration > Mailboxes.
-
- Within the Domain aliases section select the + icon.

-
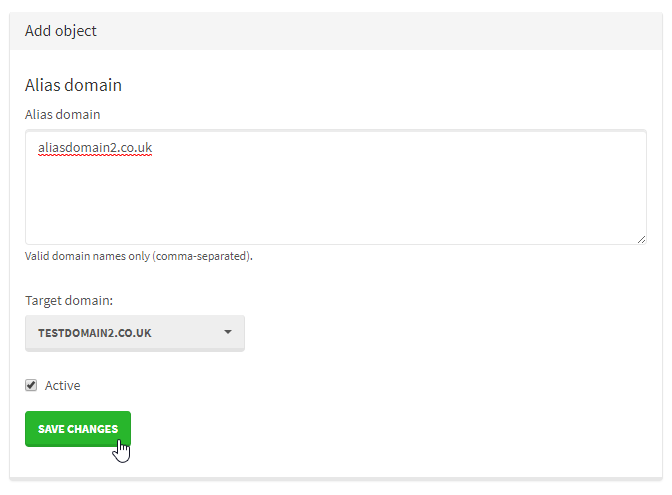
- Add a domain to the Alias domain section and select the Target Domain from the dropdown.
Click Save Changes.
- Add a domain to the Alias domain section and select the Target Domain from the dropdown.
Setting up Mailbox Aliasing
-
- Enter your Username & Password to the Mailcow admin section and click the green Login button.
-
- From the top right dropdown menu select Configuration > Mailboxes.
-
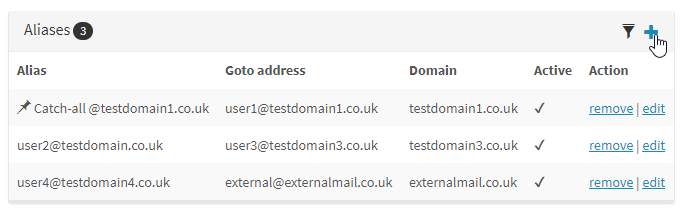
- Within the Aliases section select the + icon.
-
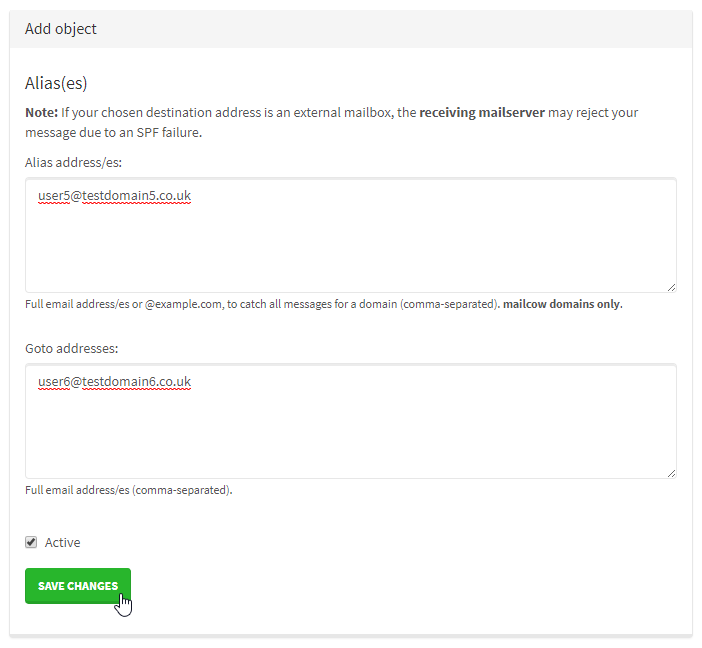
- Within the Alias address/es section place the mailcow address you wish to alias from, and place the address you wish to forward to within the Goto addresses section.
Click Save Changes.
- Within the Alias address/es section place the mailcow address you wish to alias from, and place the address you wish to forward to within the Goto addresses section.
Changing the Message size limits
-
- Enter your Username & Password to the Mailcow admin section and click the green Login button.
-
- Select the Message size tab.
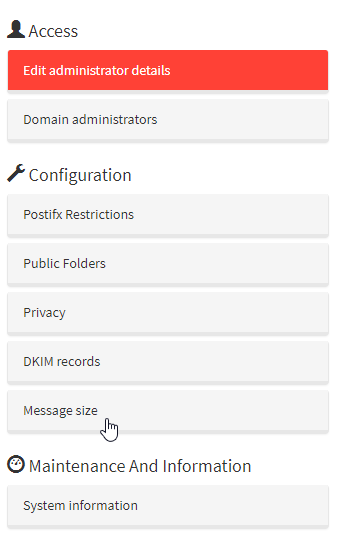
-
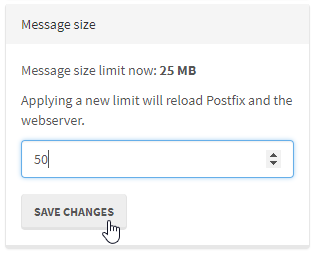
- Enter the new message size limit.
Press Save Changes.
- Enter the new message size limit.

Classification: Public
Last saved: 2021/05/21 at 14:11 by Jamie