
Please Note: All Certificate Authorities require a CSR to generate a valid SSL certificate. The steps below will walk you through generating both a CSR and Private Key which you will need to keep a copy of.
The only difference between temporary and permanent SSL certificates is that temporary certificates are generated by your control panel, not trusted Certificate Authorities. Thus, when visitors enter your site, they will get the “unknown certification authority” warning window.
1. Navigate to Domain Settings > Domain Info

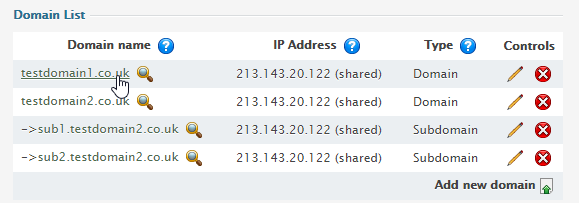
2. Select the domain you wish to add a temporary SSL certificate to.
3. Click the Edit icon in the Web Service field.

If you are on a Windows server you need to ensure that you have a Dedicated IP on the domain.
4. Click on Generate Self Signed SSL Certificate.

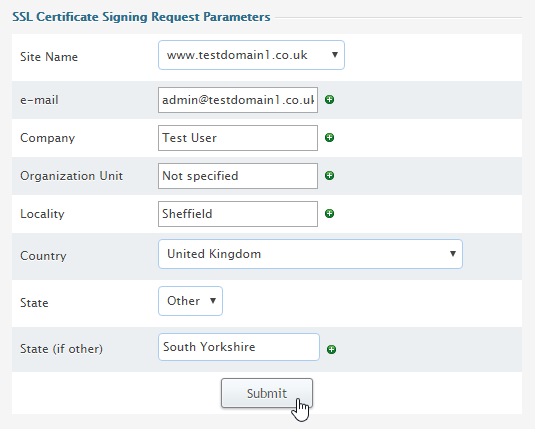
5. Input the correct information to the SSL Certificate Signing Request Parameters. As this section auto-fills, don’t make changes to the data if you are not sure about the purpose of these changes.
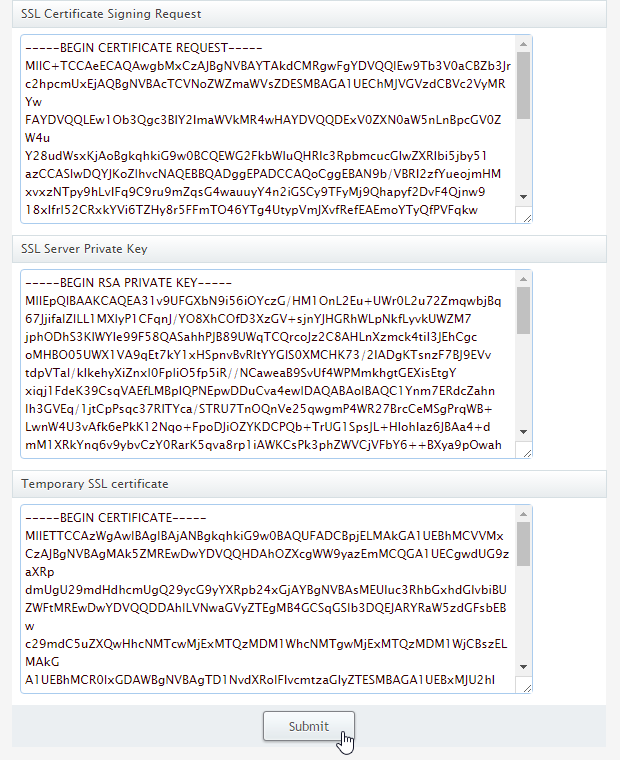
6. A Certificate Signing Request, Private Key, and SSL Certificate will be generated. Create a copy of each and save them to a safe area on your computer.
- SSL Certificate Signing request includes the details that you submitted on the previous step. Use this request if you want to get a permanent SSL certificate from a trusted Certificate Authority, such as Comodo, Thawte or VeriSign.
- SSL Server Private Key is the secret key to decrypt messages from your visitors. It must be stored in a secure place where it is inaccessible to others. Don’t lose this key, you will need it if you get a permanent certificate.
- Temporary SSL Certificate validates your identity and confirms the public key to assure the visitors that they are communicating with your server, not any other party.
Click Submit.

Classification: Public
Last saved: 2019/12/03 at 10:31 by