
There is an occasional requirement to manually move your database from one server to another. Typically this is required as the result of an account migration between data centres.
In this example we will look at how to move an MSSQL database from our Sheffield cluster to the Derby cluster.
You can find full details about Pipe Ten database services including the hostnames on our database support page. For this particular example we will be using mssql.pipeten.co.uk for Sheffield and dmssql.pipeten.co.uk for Derby shared database servers.
When moving the database(s) the method will be:
- Backup your database data and users
- Delete your databases
- Delete your database users
- Turn off the database service
- Turn on the database service
- Create your database and users
- Restore your database data
- Update your websites connection scripts
Steps to take
-
- Backup your database data and users
In this example we are going to use MyLittleBackup to do the exporting & importing of databases and tales. You can find the MyLittleBackup location for each database server on the database support page or in this table
| Hostname | Location | MyLittleBackup URL |
| mssql.pipeten.co.uk | Sheffield | https://sqlbk-sheffield.pipeten.co.uk/ |
| dmssql.pipeten.co.uk | Derby | https://sqlbk-derby.pipeten.co.uk/ |
1.1. Within MyLittleBackup:
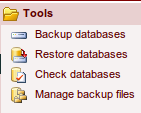
To export a database click on the “Backup databases” option in the Tools menu:
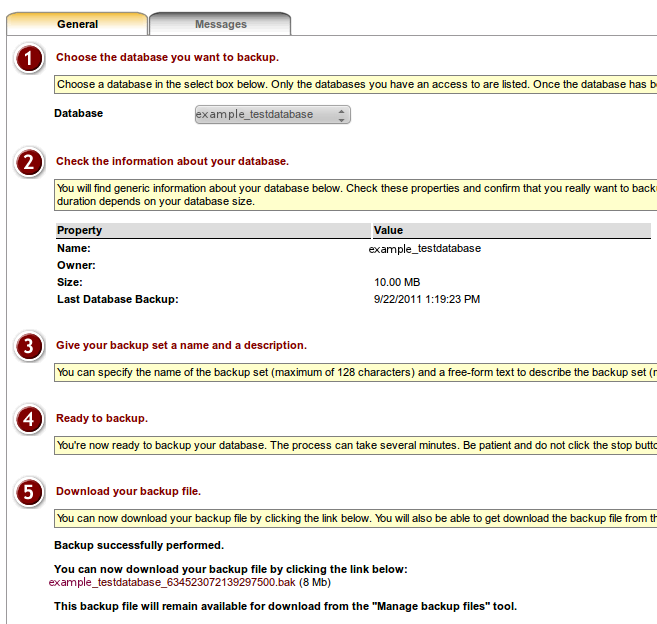
Then work through each of the 5 options in configuration page and finish off by downloading a local copy of the .bak database backup file.
1.2. Within your hosting control panel:
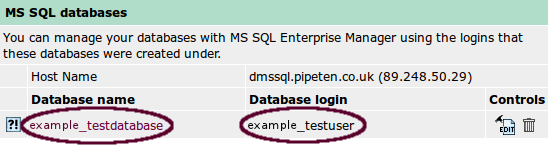
Navigate to Databases > MSSQL > MSSQL DBs

and take note of the names of your database(s) and the database user(s) and passwords as you will need these when recreating at a later stage.
-
- Delete your databases
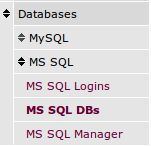
Within your hosting control panel go to:
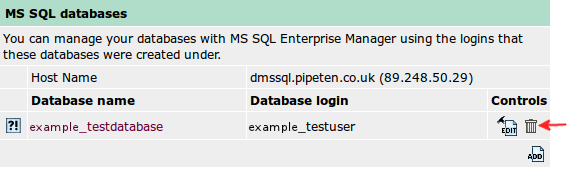
Databases > MSSQL > MSSQL DBs

and click the “trash” icon next to each of your databases
-
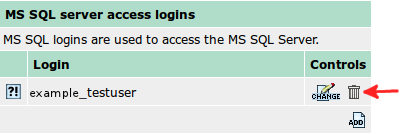
- Delete your database users
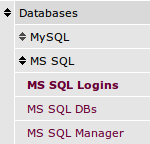
Within your hosting control panel go to:
Databases > MSSQL > MSSQL Logins

and click the “trash” icon next to all of your users
-
- Turn off the database service
Within your hosting control panel:
Once the users and databases have been removed you can turn off the database server by navigating to Databases > MSSQL > MSSQL DBs
If you do not see the MSSQL “On” or “Off” button then it is likely that you have database users or a database that you have not yet deleted. The button shows the current state of the database system. Clicking the “On” button should turn off the database service.

-
- Turn on the database service
Within your hosting control panel:
Navigate to Databases > MSSQL > MSSQL DBs
and turn the database service back on.

From the previous step the database service should be “Off” (as shown above). Click the button to turn it back on. This process of turning the database service off and back on will ensure newly created databases will use the new database server and not the old. In this case it will move from mssql.pipeten.co.uk to dmssql.pipeten.co.uk
-
- Create your database and users
Before you can repopulate the database with the data you backed up the database and users must be recreated. Within your hosting control panel:
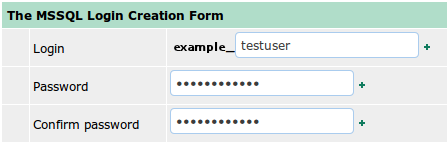
Navigate to Databases > MSSQL > MSSQL Logins
In the MSSQL Login Creation Form recreate all the previous users of the databases. These are those that you noted in step 1.2
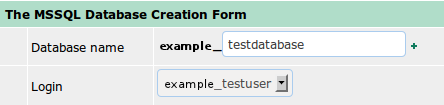
Next re-create the databases. Navigate to Databases > MSSQL > MSSQL DBs
and using the MSSQL Database Creation Form re-create each of the databases, assigning the appropriate user to each one.
-
- Restore your database data
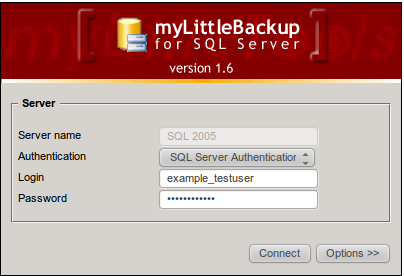
If you are following these instructions follow a migration from Sheffield datacentre to maybe Derby then having turned off and on your database service it will have moved you database server. As mentioned in step 1 you will now probably be using the Derby MSSQL server. If so log into it at http://dmylittlebackup.pipeten.co.uk/
Enter the login credentials from step 6
From the tools menu select “restore databases”
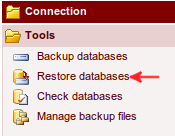
from the restore menu that then appears work your way through each of the 5 steps. At step 3 you will upload the copy of your database that you created earlier (a *.bak file) before selecting it.
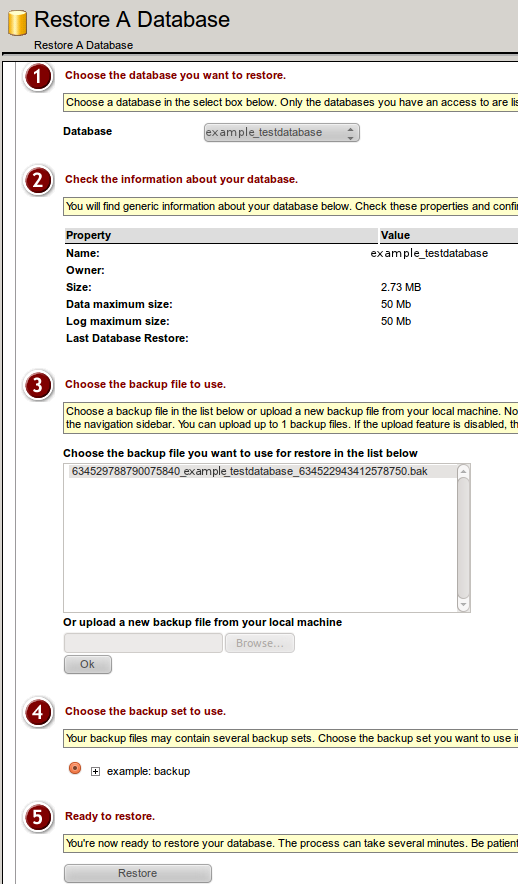
Click “Restore”. Read and agree to the warning dialogue box that appears

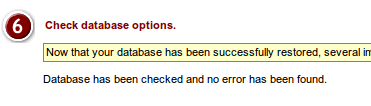
Once the database has successful been restored and checked option 6 will then become active stating that your restoration has been successful
-
- Update your websites connection scripts to use the new connection details
Within your code:
If you have kept all of your database names, usernames and passwords the same then you will likely just need to update the database hostname in your websites configuration file.
In our example this would be changing all references to mssql.pipeten.co.uk (Sheffield) within your code to dmssql.pipeten.co.uk (Derby).

Classification: Public
Last saved: 2021/11/11 at 14:31 by Jamie