
How to enable and configure Anti Virus for an entire domain or single mailbox.
- Domain Wide Anti Virus
- Single Mailbox Anti Virus
- Additional Anti Virus Settings
Enabling Anti Virus for an Entire Domain
-
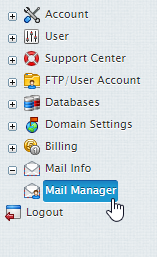
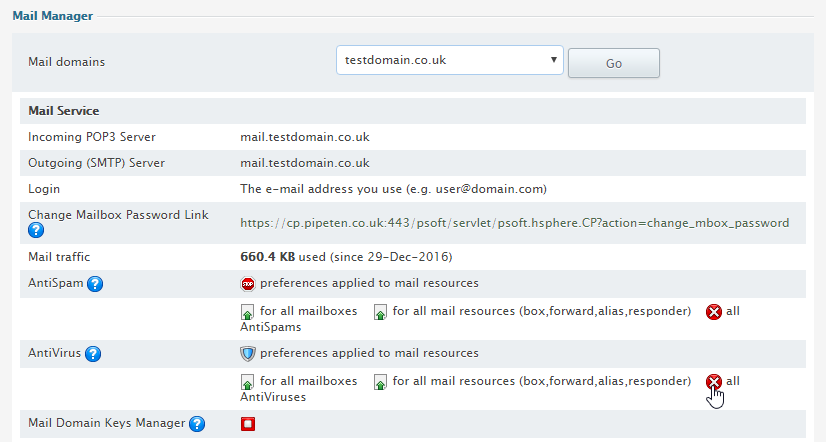
- From your control panel, navigate to Mail Info > Mail Manager.
-
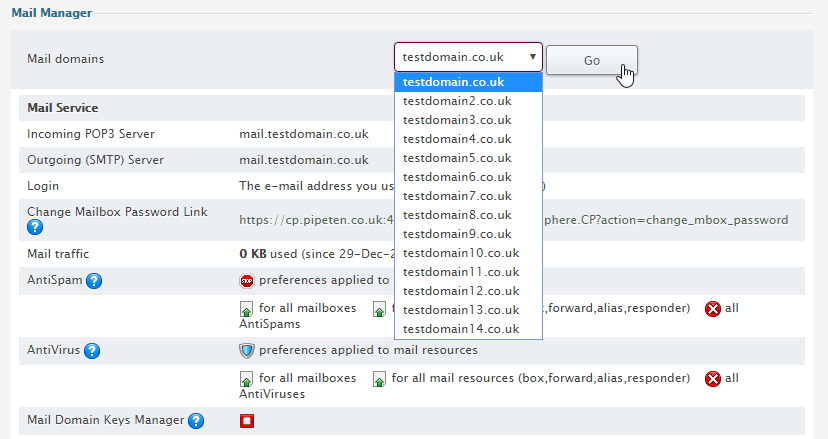
- From the drop down menu, select the domain you wish to set domain wide anti virus for.
-
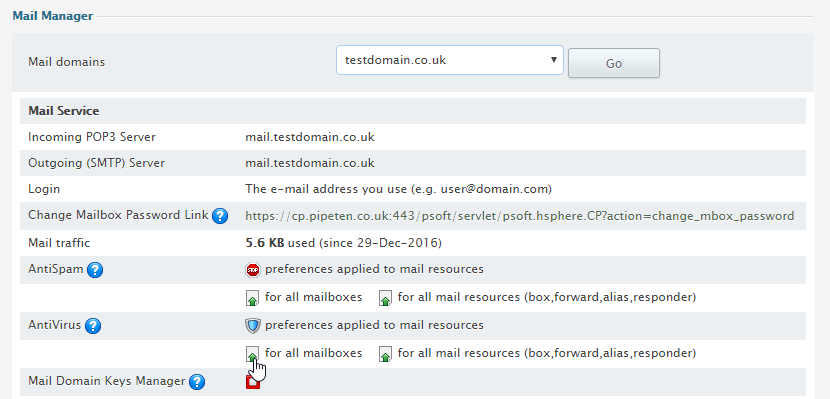
- Select the Add icon.
Configuring Anti Virus for an Entire Domain
-
- From your control panel, navigate to Mail Info > Mail Manager.
-
- From the drop down menu, select the domain you wish to configure domain wide Anti Virus for.
-
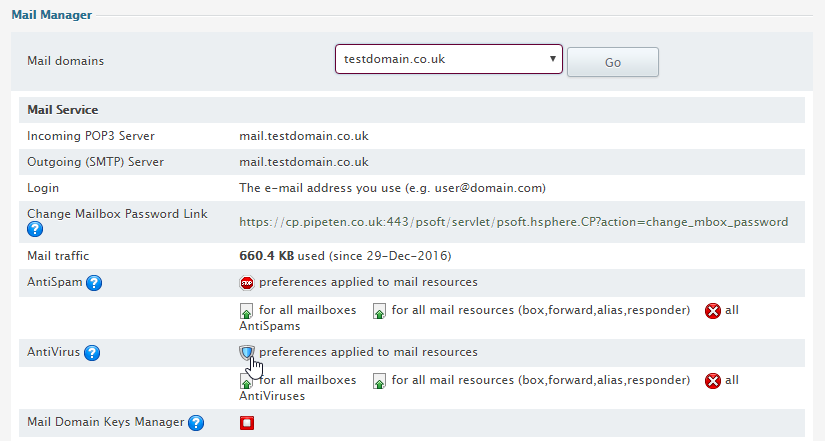
- Select the Edit Anti-Virus Preferences icon.
-
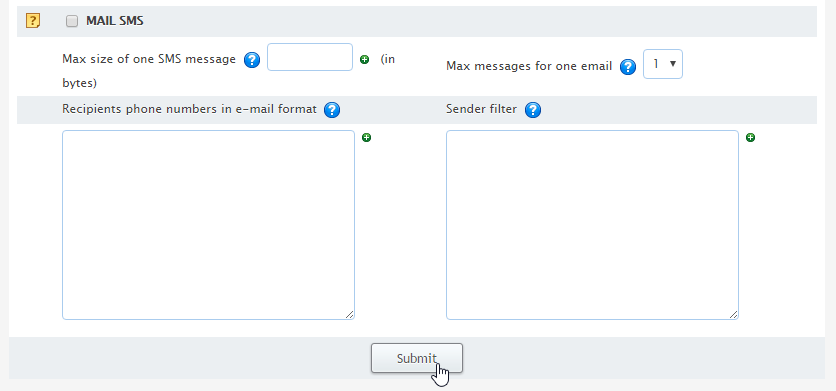
- Set your new Anti Virus settings. Once done press Submit.
For more information on Anti Virus settings please see here.
Disabling Anti Virus for an Entire Domain
-
- From your control panel, navigate to Mail Info > Mail Manager.
-
- From the drop down menu, select the domain you wish delete domain wide Anti Virus for.
-
- Select the Delete icon from the Anti Virus section.
Enabling Anti Virus for a Single Mailbox
Please Note: Enabling anti virus for a single mailbox will override the domain wide anti virus settings for that mailbox.
-
- From your control panel, navigate to Mail Info > Mail Manager.
-
- From the drop down menu, select the domain that contains the mailbox you wish to set Anti Virus for.
-
- Select the Edit Mailbox icon next to the domain you wish to enable Anti Virus for.

-
- Select the Anti Virus tick box so that a tick appears.

-
- Press the Submit button at the bottom of the page
Configuring Anti Virus for a Single Mailbox
-
- From your control panel, navigate to Mail Info > Mail Manager.
-
- From the drop down menu, select the domain that contains the mailbox you wish to Anti Virus for.
-
- From Select the Anti Virus Icon next to the domain you wish to edit.

-
- Set your new Anti Virus settings and click Submit.
For more details on Anti Virus settings Please see here.
Disabling Anti Virus for a Single Mailbox
-
- From your control panel, navigate to Mail Info > Mail Manager.
-
- From the drop down menu, select the domain that contains the mailbox you wish to set Anti Virus for.
-
- Select the Edit Mailbox icon next to the domain you wish to disable Anti Virus for.
-
- Select the AntiSpam tick box so that the tick disappears.

-
- Press the Submit button at the bottom of the page
Anti Virus Settings
Virus Processing
Virus processing. By default, it is set to Remove all incoming mail that bears a virus.
- Mark as virus: this will tag the email as virus, i.e. add the word virus to the subject line of the email and then forward the email on to the client as an attachment with details.
- Remove: this will delete the email so when the client performs a send/receive, they will never see the email.
- Move to: this allows you to specify a mailbox infected email goes to. The client will never see this email unless they access the specified mailbox.
MIME Type
MIME type. This will tag an email as virus according to the attachment’s MIME Type. By default, it is disabled.
- Disabled: this will make MIME Type mode unavailable.
- Allowed MIME Types: this lets you check the MIME Types to be allowed, so the client will receive the emails only of these MIME Types. The other emails will be rejected.
- Denied MIME Types: this lets you mark the MIME Types to be denied, so the emails with attachments of these MIME Types will be rejected and returned to a sender.
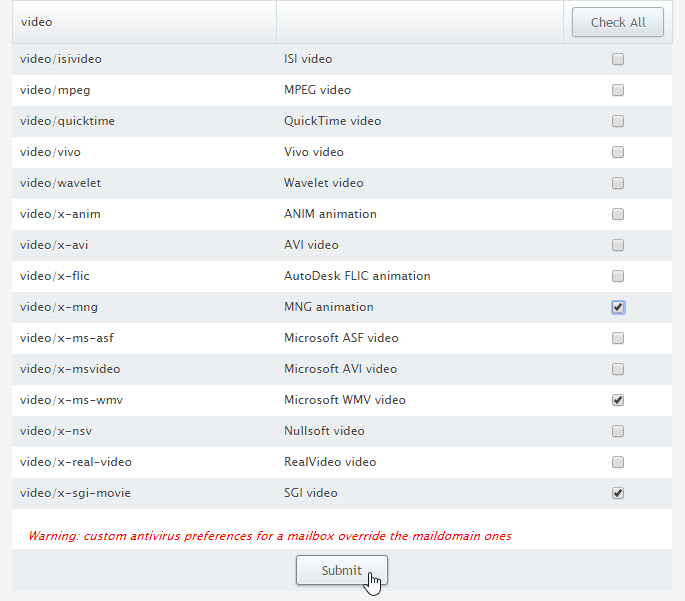
MIME Type Groupings
The MIME Types are grouped into sections, so you can use the Check all options to mark all the section.
- Applications: Various different application formats such as .PDF and .DOC are listed here which can be selected to automatically discard.
- Audio: Various different audio formats such as .MP3 and .WAV are listed here which can be selected to automatically discard.
- Image: Various different image formats such as .PNG and .JPG are listed here which can be selected to automatically discard.
- Model: Various different model formats are listed here which can be selected to automatically discard.
- Text: Various different text formats such as .HTML and .C are listed here which can be selected to automatically discard.
- Video: Various different video formats such as .MP4 and .AVI are listed here which can be selected to automatically discard.

Classification: Public
Last saved: 2021/11/11 at 14:16 by Jamie